Dear Students,
You may use your laptop or tablet or smartphone to login to ODCVLE portal (https://vle.omandentalcollege.org). Please make sure you are connected with internet that has good bandwidth to support live video streaming.
It is recommended that you use either the Chrome or Firefox browser.
Please take few minutes to watch this video to understand the live webinar
interface:
After ensuring your device is connected to internet, please follow these steps:
1. Login to https://vle.omandentalcollege.org, using your student number as username (eg bdsf1234) and your password.
2. Open the Webinar Schedule available here: https://vle.omandentalcollege.org/mod/forum/discuss.php?d=15
3. Then click at the webinar link of that particular day, time and subject.
4. It will take you to corresponding webinar page as below:
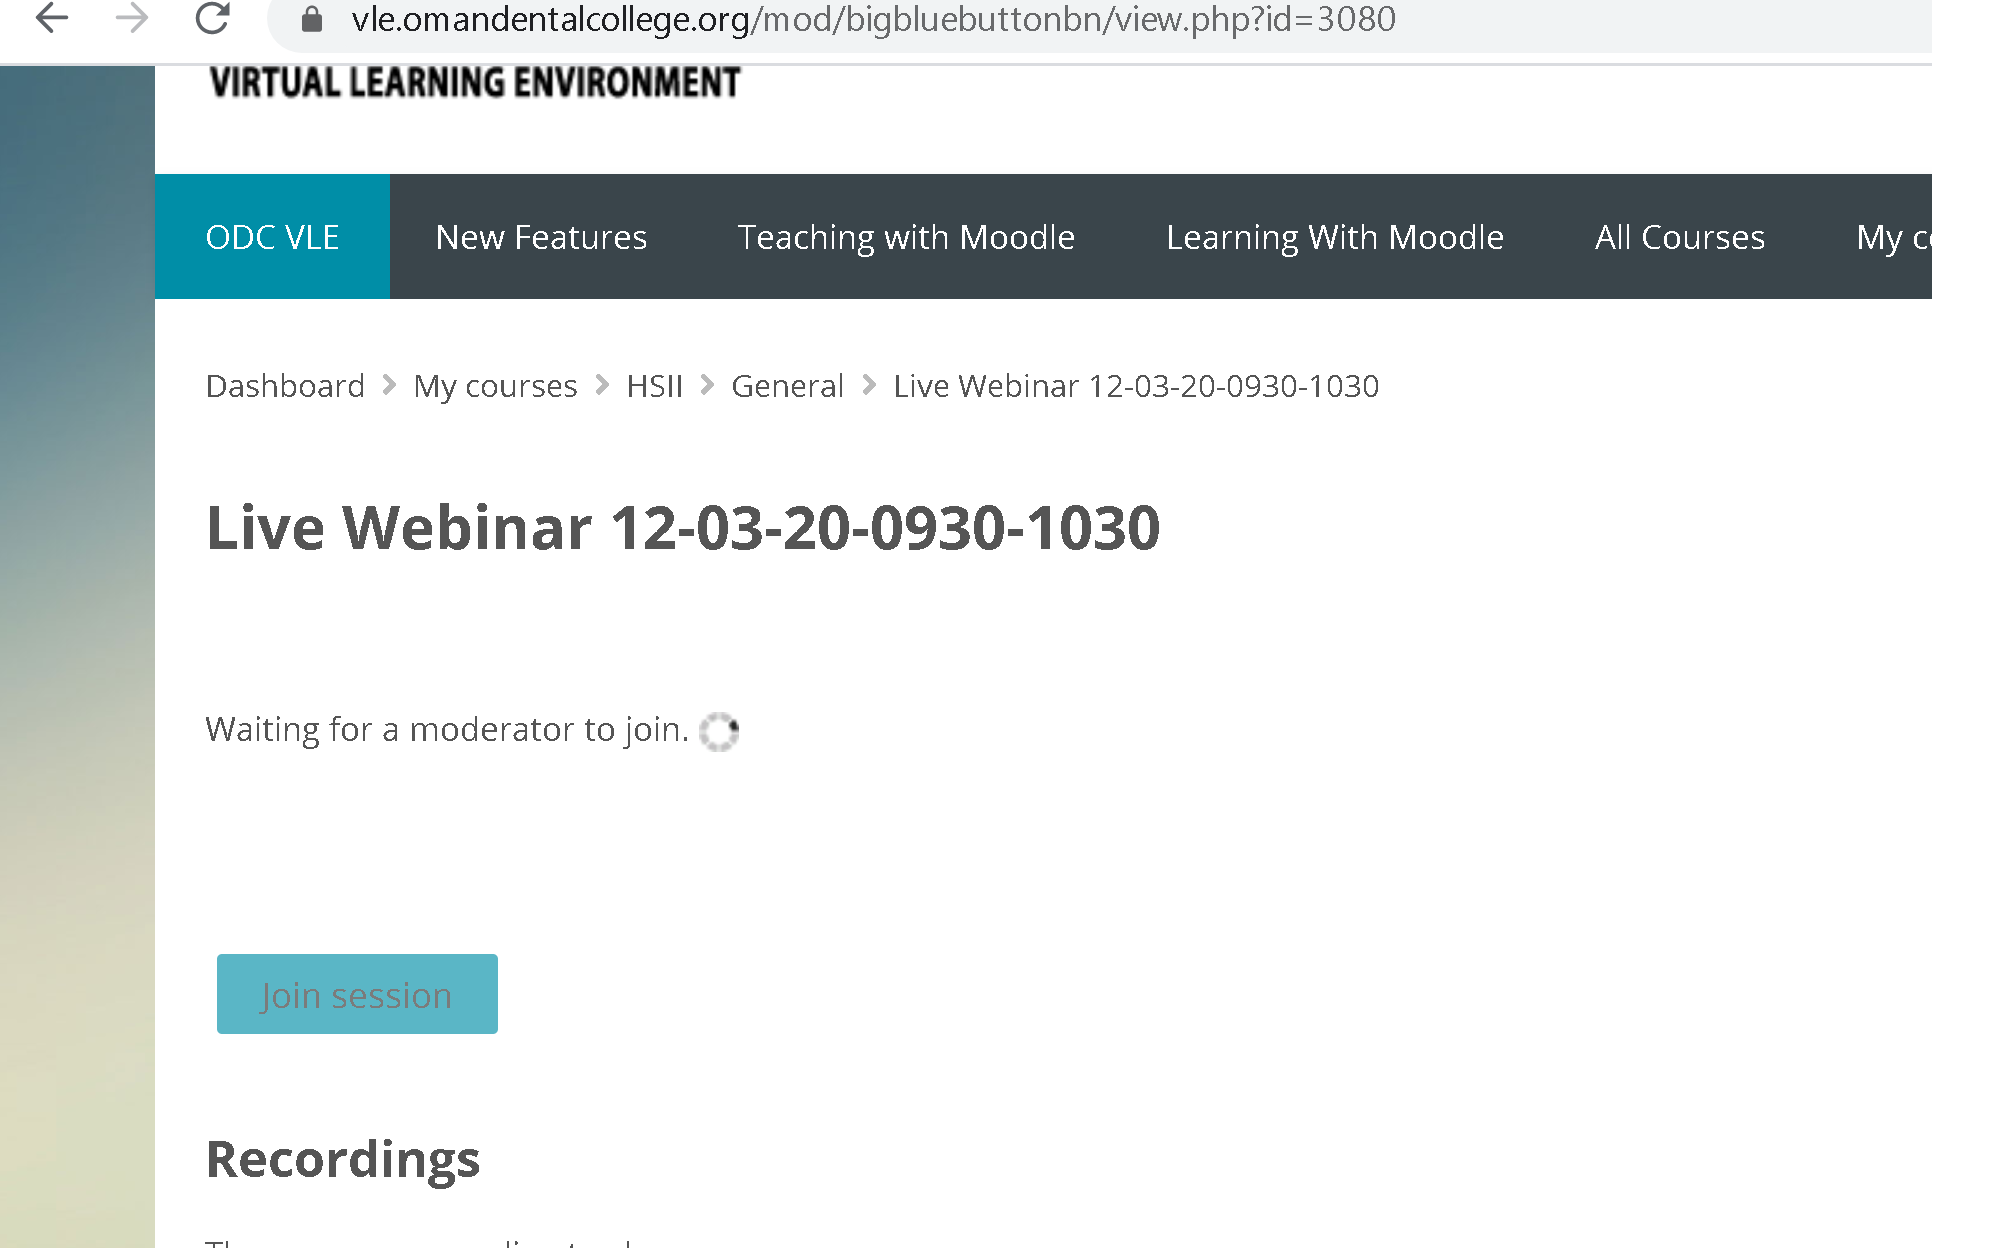
5. When the faculty is available during the given timing, you will see a ‘Join Session’ button:
6. The above ‘Join Session’ button will appear only during the scheduled time. During other times it will be inactive. In case if you access this after the webinar timing, you will see recorded version of the Webinar.
7. A new window should open that will take you right into the live Webinar interface, provided the event has already started.
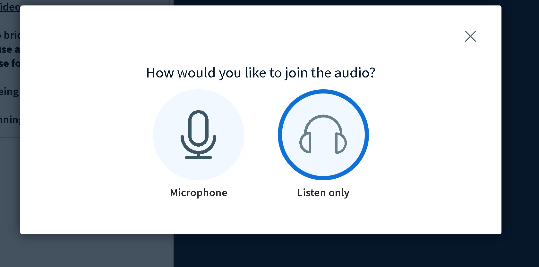
8. The first dialogue box will ask you how you want to join the audio, whether via a microphone or “Listen only.” Choose “Microphone” if you have an external microphone built into your computer or your webcam. Choose “Listen only” if you have no microphone. Note: you might have to give your browser permission to use your microphone. Choose “Allow.”
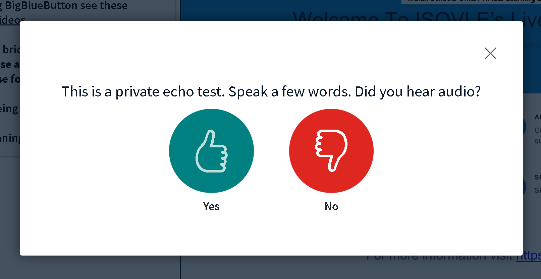
9. The next dialogue box will be an audio testing box for your to speak and test.

10. If you can hear audio when you speak, click Yes. This should cause you to join the audio, which will be indicated with a green checkmark on the headphones icon in the lower left hand corner of your screen. It is very important that you use HEADPHONES for the live event rather than your computer speakers.
You will be able to access the Live Webinar interface like below now:
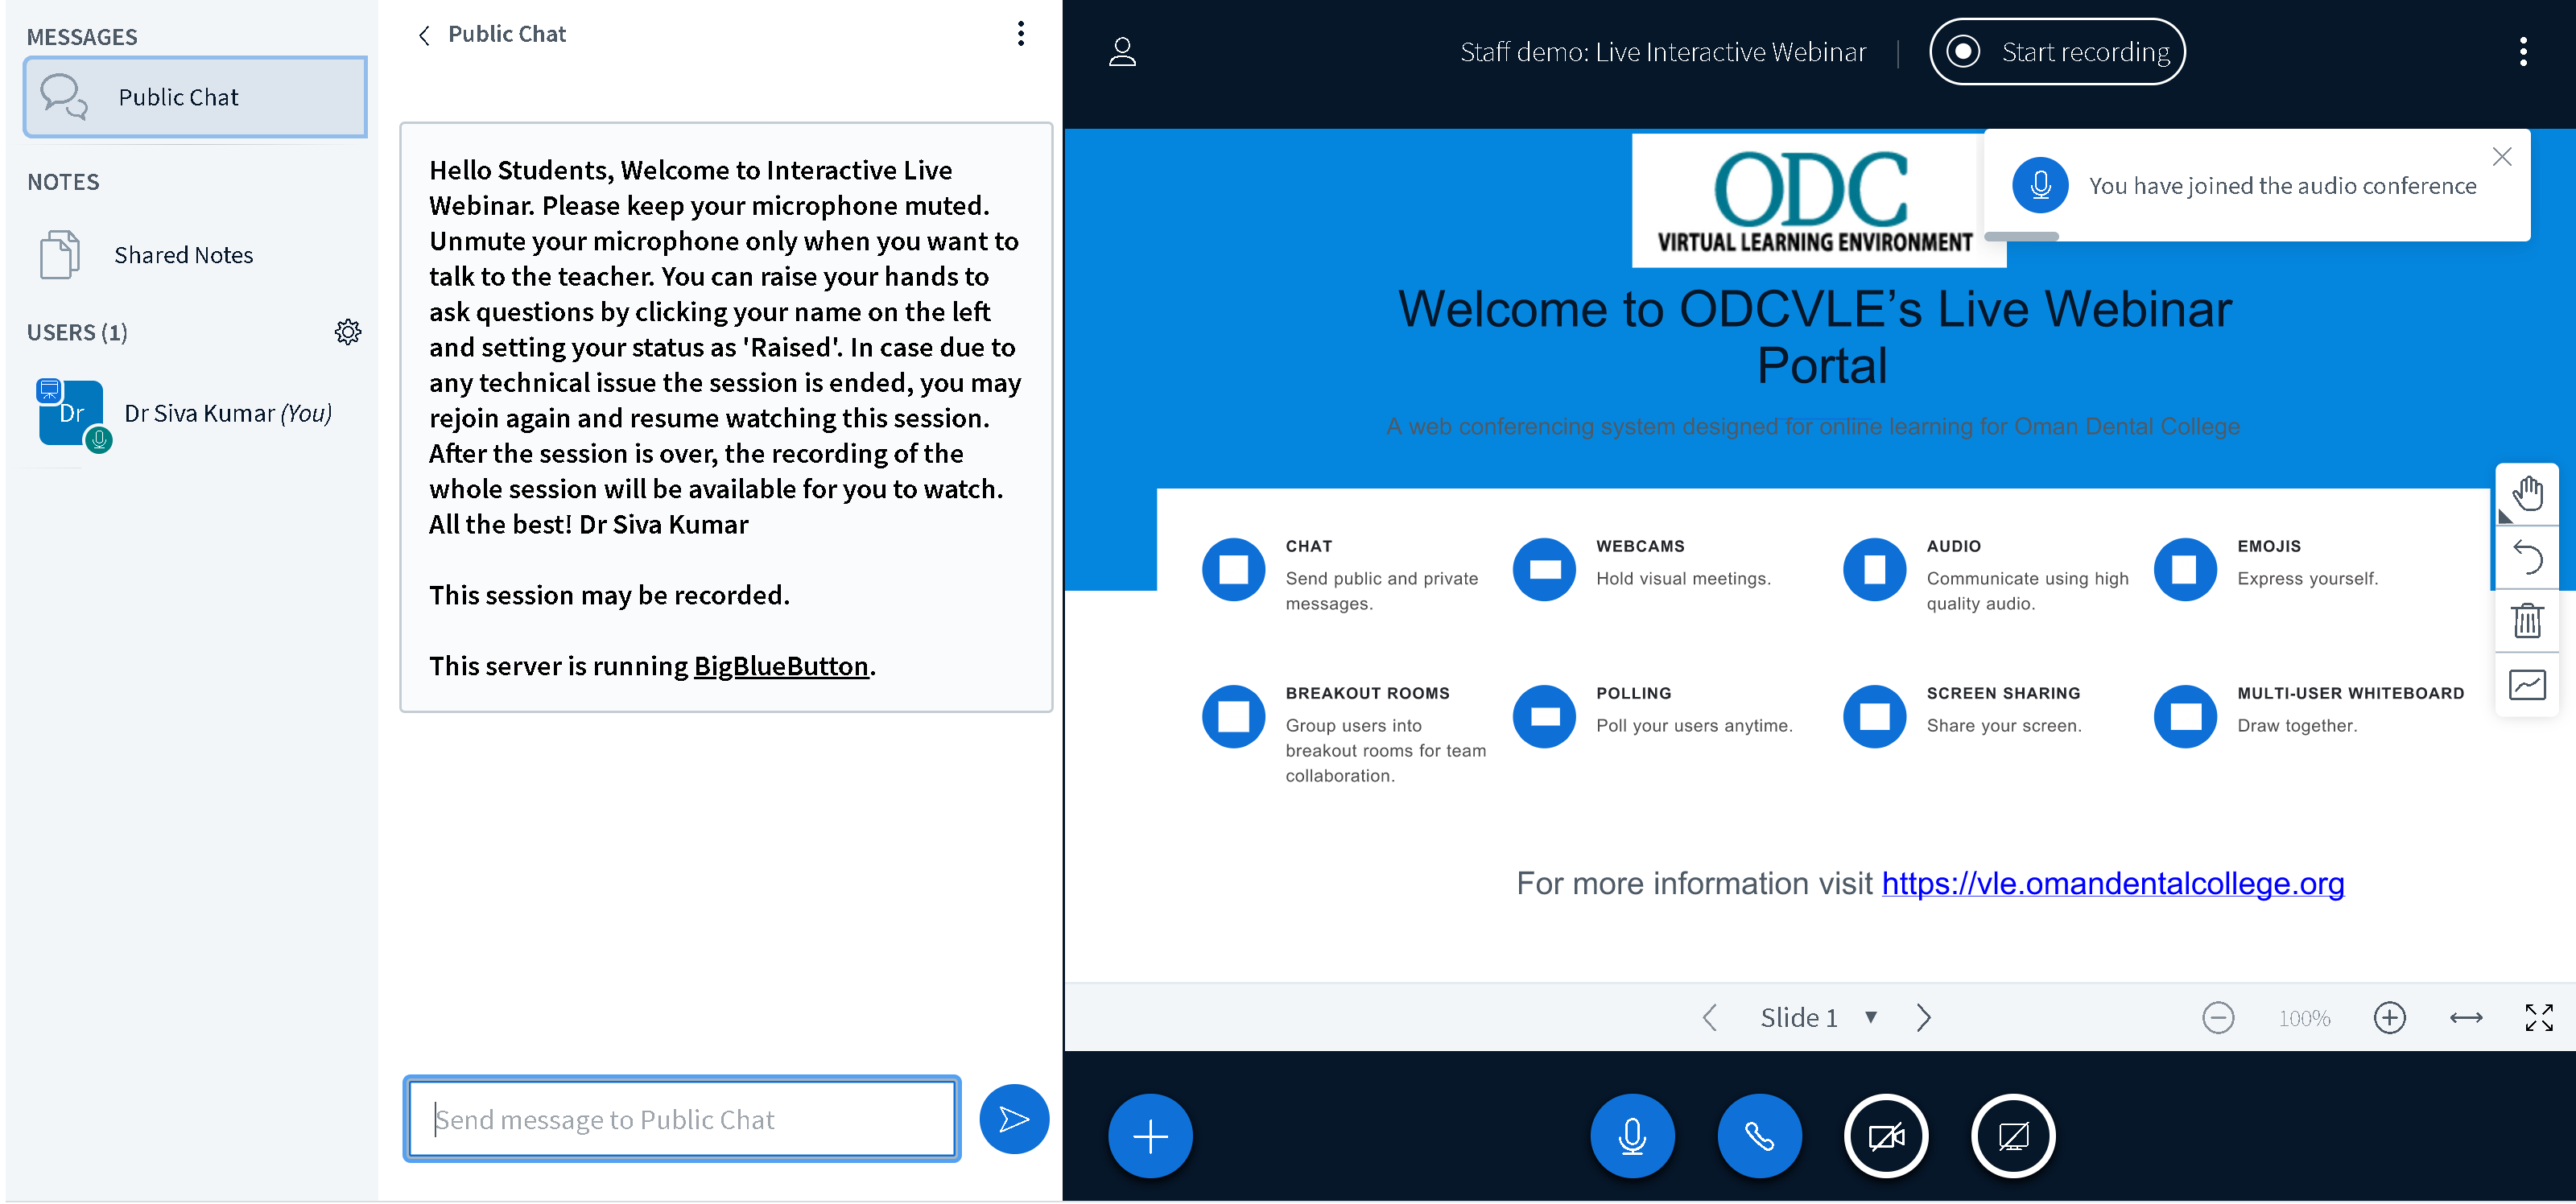

11. Now that your audio is set up, you will see on the left hand side of the screen a dialogue box titled “users.” You should see your name on this list. Next to your name there should be a microphone icon. You may click on this icon to mute and unmute yourself. If you are not speaking, you should mute yourself to cut down on overall background noise in the event.
12. Back in the lower left hand side of your screen you will see an icon of a mic, webcam etc.
13. If you wish to ask a question or make a response of some kind, you must click the hand icon in the bottom left-hand corner of the “users” dialogue box. Your status will then display as having a raised hand. The teacher will see that your hand is raised, and when he or she is ready they will “call on you” by unmuting you, allowing you to speak.
14. If audio and/or video are not functioning well, you also have the option of typing in your questions and responses in the messenger box on the right hand side of the screen. Type in the open space at the bottom of the box and click “Send” to post your question or response. If this becomes the means of communication during your event due to audio issues, remember to wait until you are “called on” to post a question or respond to a comment.
15. Once the event is over, click “Logout” in the upper right hand corner of your screen.